Smart Home Side Path Lights Project
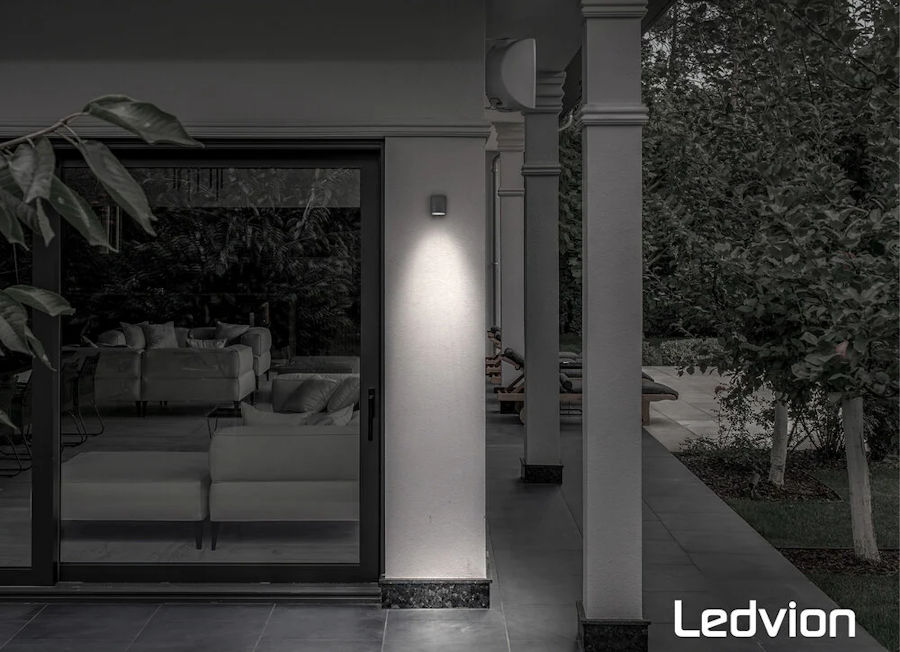
With our new smart home extension, we are creating a longer path down the side of our house, which requires smart lighting. Part of the path is lit up by LED strip lighting on the outside of my garden store but, I need four more lights on four of the fence posts to lit up the rest of the path.
Design
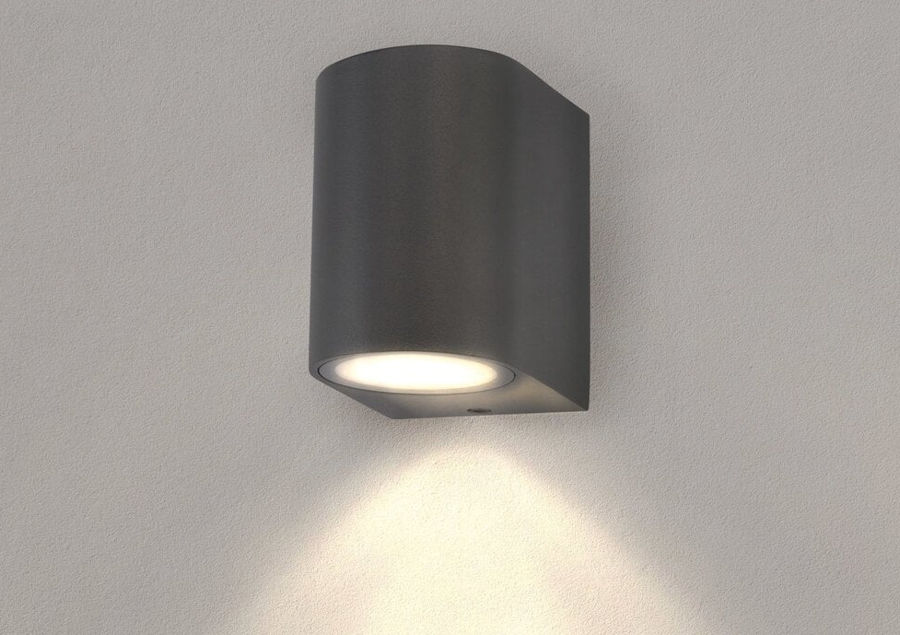
I found a very suitable down light available for sale at lightexpert.co.uk, in the right colour (Anthracite) and a very good price. It is made by a company called Ledvion.
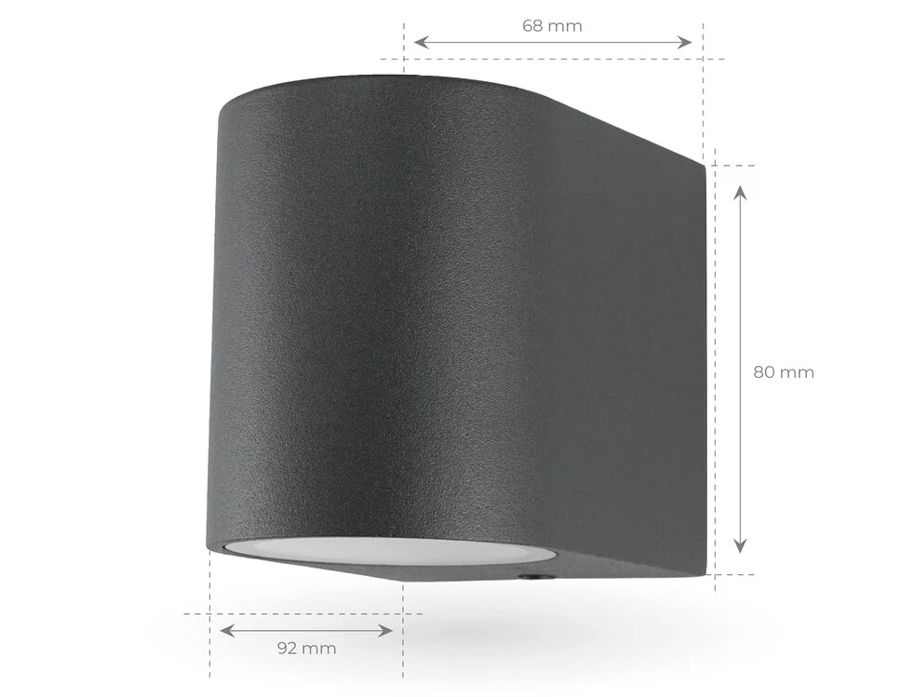
These lights are solidly made from cast aluminium and just the right size for this application. There is a cast mounting plate and a cast shell. Both are painted in a matt Anthracite finish. These lights are designed for 240V ac use and use GU10 bulbs but, I plan to convert them to 12V dc use and use MR16 LED bulbs rated at around 3W. These are much safer and easier to automate.
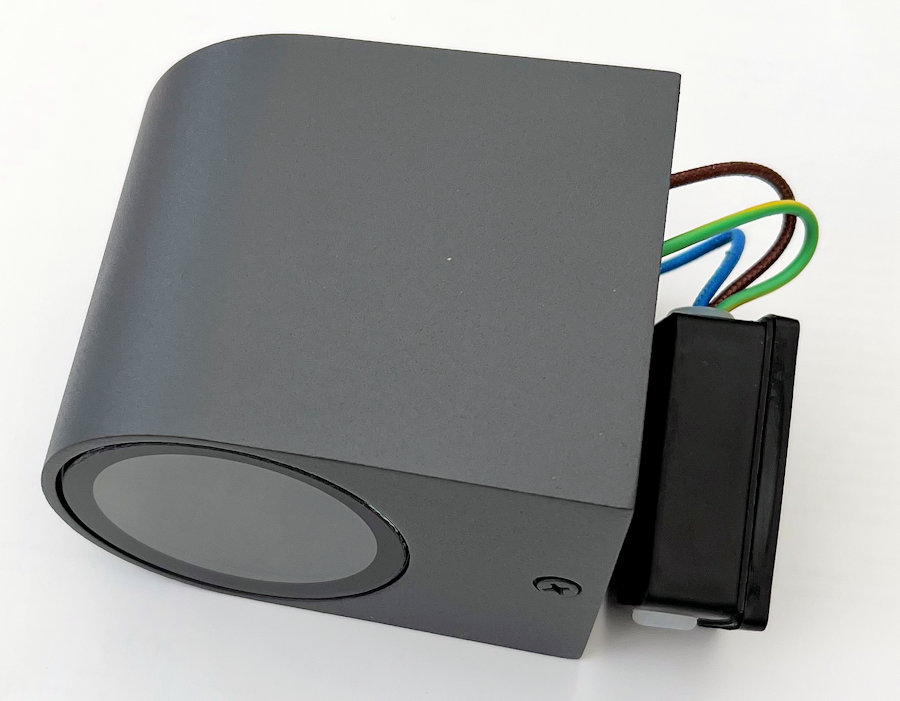
When they arrived, I took one part to have a look inside. They are really well made and come with all the fittings and a water-tight junction box. The outer cover is held in place by two screws, one at the top and one at the bottom.
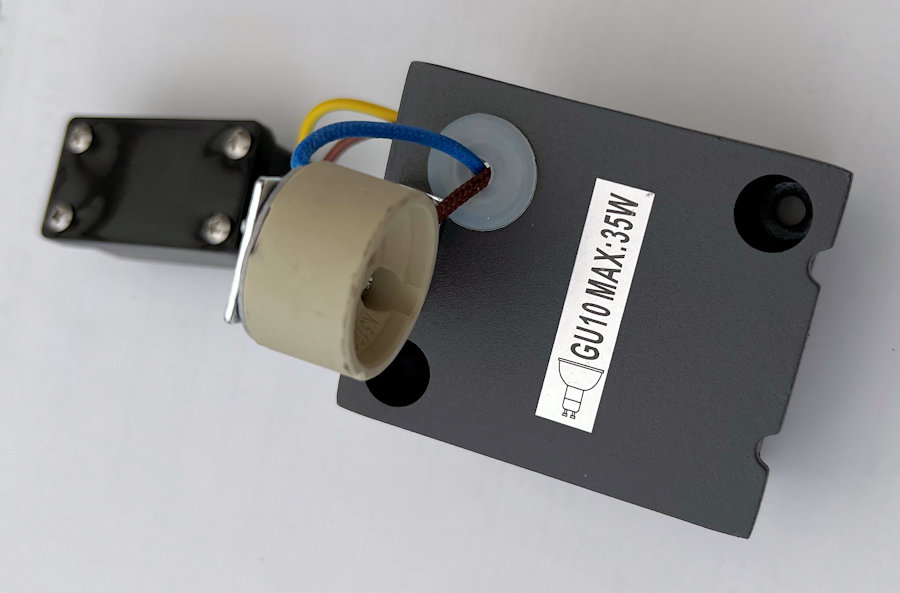
The metal and ceramic GU10 bulb mount is screwed to the cast mounting plate and is easy to remove. I don't need to use this as my MR16 bulbs fit snugly into the circle above the glass. I already have spare connectors to fit to MR16 bulbs.
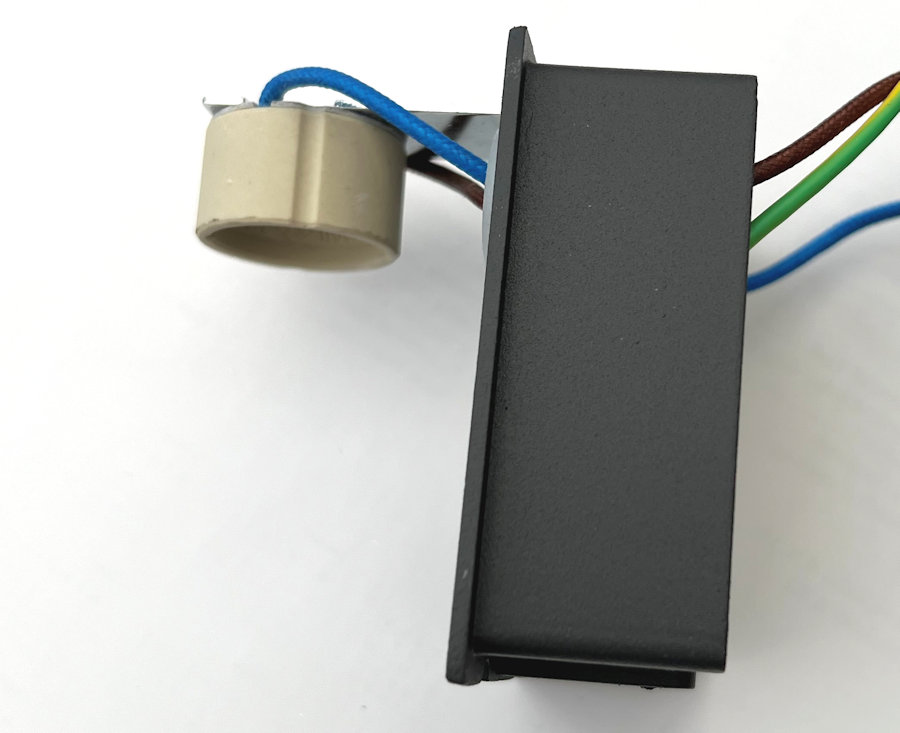
This is the cast mounting plate. I want to hide the wiring from the bulb, so it will run through the grommit on this plate, through a hole in my mounting plate and down the slot in the fence post which holds the fence panel in place. It is 12V dc wiring and fairly low current (less than 0.5A), so I can run wiring inside a UV-protected plastic irrigation hose.
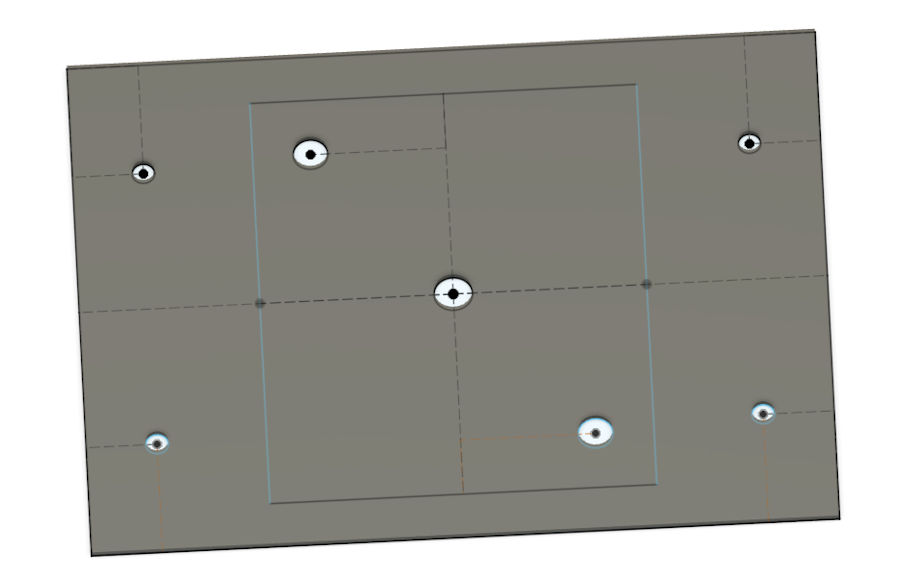
I am mounting my lights to the top of concrete fence posts and I don't want to drill into these as they can crack easily. I designed a template mounting plate in Autodesk Fusion 360 to allow me to 3D print it and test my plan to fix them to the posts.
The light is fixed to this using two 5mm stainless-steel bolts.
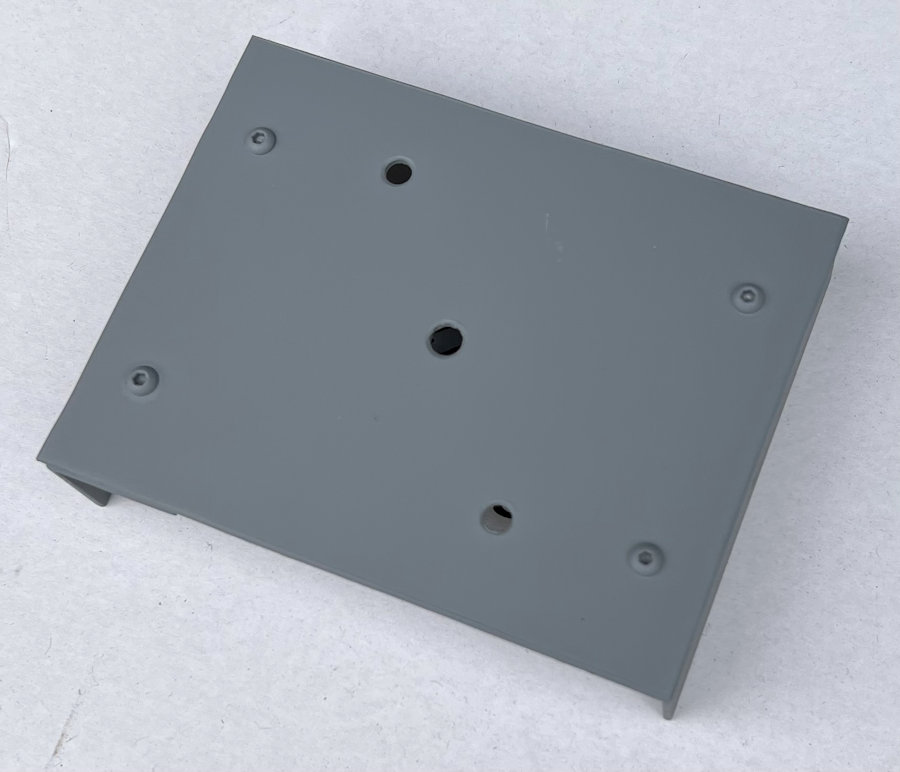
Using my chop saw, I cut some 1.5mm thick aluminium plate and 25mm aluminium angle to fabricate my mounts. These are bolted together using 3mm stainless-steel button head screws. As shown here, the parts have been primed, bolted together and then primed again using a zinc etch primer.
These will be spray painted with a final coat to match the lights. You can't see it in this photo but, there is a hole on each side to enable me to screw through into a plastic 'clamp', which holds this plate firmly in place on the concrete fence post.
Smart Home Integration
The 'side path' is a zone modelled by my Home Control System and a controller is used to ensure these side path lights are on when the side path is occupied and it is dark outside. My home uses a twilight sensor to detect this but, also uses dawn and dusk times. The controller 'sees' events from the side path gate, the back door and a beam break sensor at the garden end of the path.


