Car Parking Distance Sensor
I see a lot of requests from people asking for something to help park a car in a garage without hitting the end wall. Whilst a lot of modern cars have parking sensors, this is not true for older cars, classic cars and many sports cars.
Traditionally people do this by dangling something (usually an old tennis ball) from the ceiling on a piece of string and stopping when it just hits the windscreen. This only works for one specific car though and assumes you always park it in the garage nose first.

For this project I'm using a JSN-SR04T ultrasonic distance sensor. It has good range and accuracy with hard surfaces like cars. It comes with a fairly long lead, so it can be mounted at bumper height, to best detect the cars position. It is also waterproof, so this could be used outside if required.
Whilst the sensor has a long range, it has a minimum distance of about 20cm, so this is the closest you want to get the car to it. In practice, this is not an issue because I have other things at the back of the garage that mean the car will never be within 50cm of the back wall.
Design
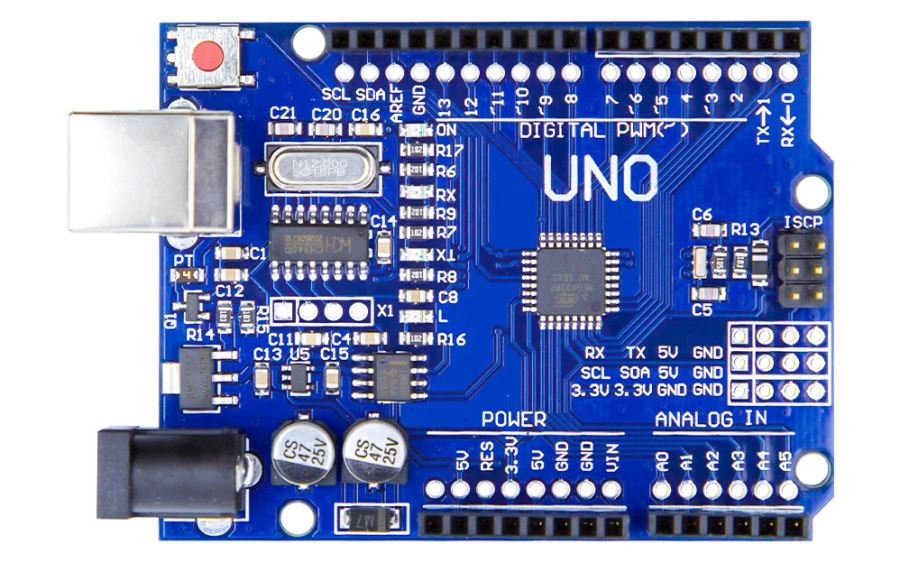
I'm using an Arduino Uno for this project but only because I have lots of spare ones. Pretty much any Arduino processor could be used, so long as it has enough IO capability. That means 2 pins for the distance sensor and 8 output pins for the LEDs.
My design works on the basis that the Arduino Uno is not always powered up. In my main garage, I'm going to connect it up to my contextual smart home, such that it is only powered up when my garage is occupied. If you don't want it occupancy based, then you could just leave it on all the time. The other approach (which I'm also using), is to use a micro-switch on the garage door to power it up when the garage door is open.
Visual Indicators
I'm assuming the visual indicator element of this project will be mounted at head height (whilst sat in the car), so that you can see it in front of you or in the rear-view mirror. This will be 8 LEDs to provide a visual indication of distance. The first blue LED lights up to show that power is on and then the rest light up as you get closer to the sensor. The first four are green LEDs, then two orange and the final one is red. When the red LED is on, it is time to stop!
I'm using clear ultra-bright LEDs, so that it is much clearer when they are on. These are driven at 20mA by using a suitable series resistor. Each pin on the Arduino is capable of driving a 40mA load. When all 8 LEDs are on, this results in a total load of 160mA, which is well within the specifications of the Arduino Uno.
The actual distances at which each LED lights up are completely configurable. I'm initially using 85cm, 65cm, 50cm, 40cm, 35cm, 30cm and 25cm.
Power
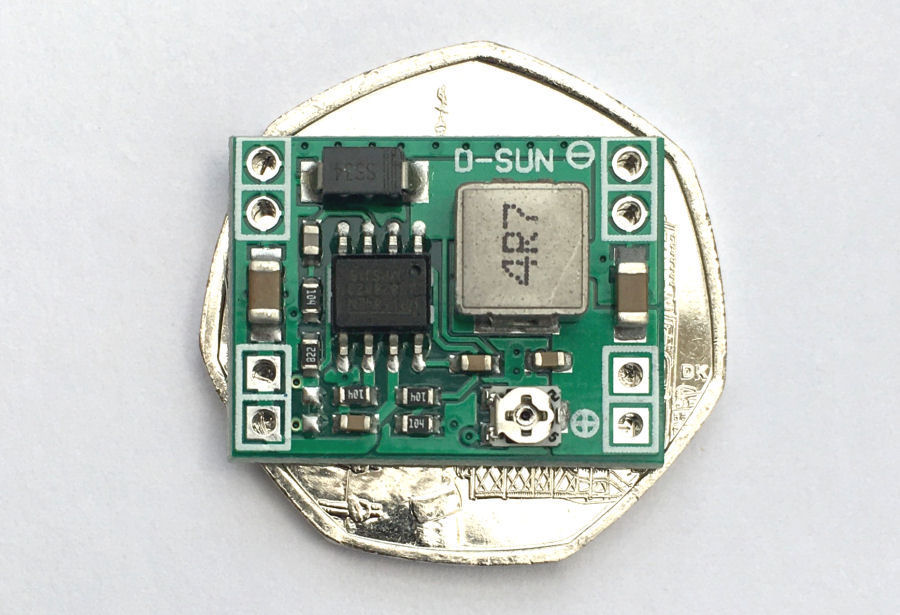
I'm designing this to run from a 12V dc (optionally switched) power supply and this feeds into a small dc-dc convertor, to power the Arduino Uno at 8V dc.

The first installation will be in the lockup garage that my son's 1990 Eunos Roadster is kept in. There is no local power, so this parking aid will be powered by a 12V battery. The power is connected via a micro-switch on the garage door and this ensures it is only powered when the garage door is open.
Enclosure
The Arduino Uno is enclosed in an small ABS plastic box and the LEDs are mounted into this. The inside is sealed to keep out moisture.
Mounting

To mount the JSN-SR04T sensor on a flat wall, I've designed a custom mount to 3D print using Autodesk Fusion 360. The mount has a hole to screw it to a vertical surface and the sensor pushes in via the front. The cable exit can also be at the top or the bottom. I've also added holes to allow the cable to exit and the plug on the end to be threaded through the base.
Build
Mounting
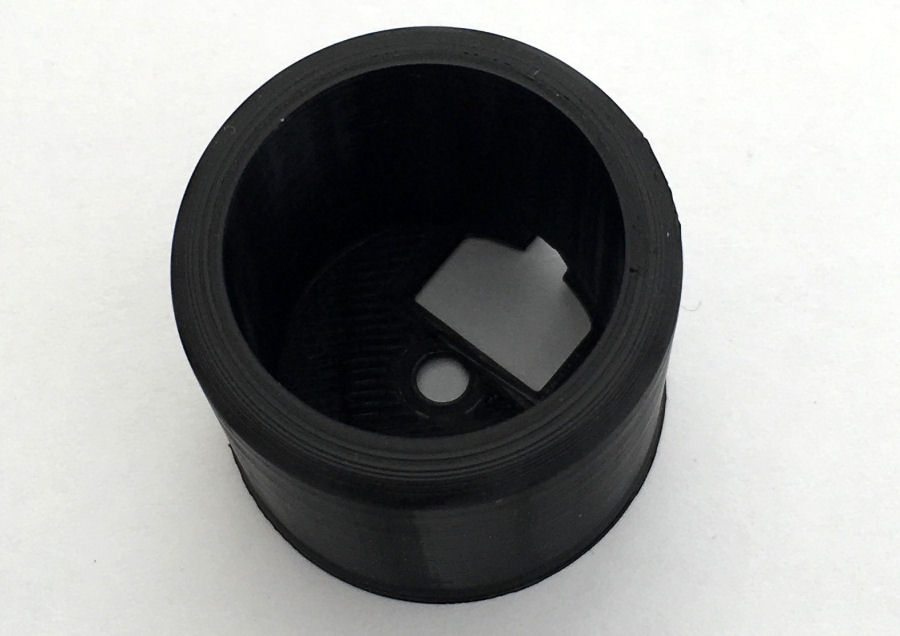
This is the 3D printed sensor mount. You can download the STL file. It's been designed to be fixed to a vertical surface using a single screw.
Arduino Shield
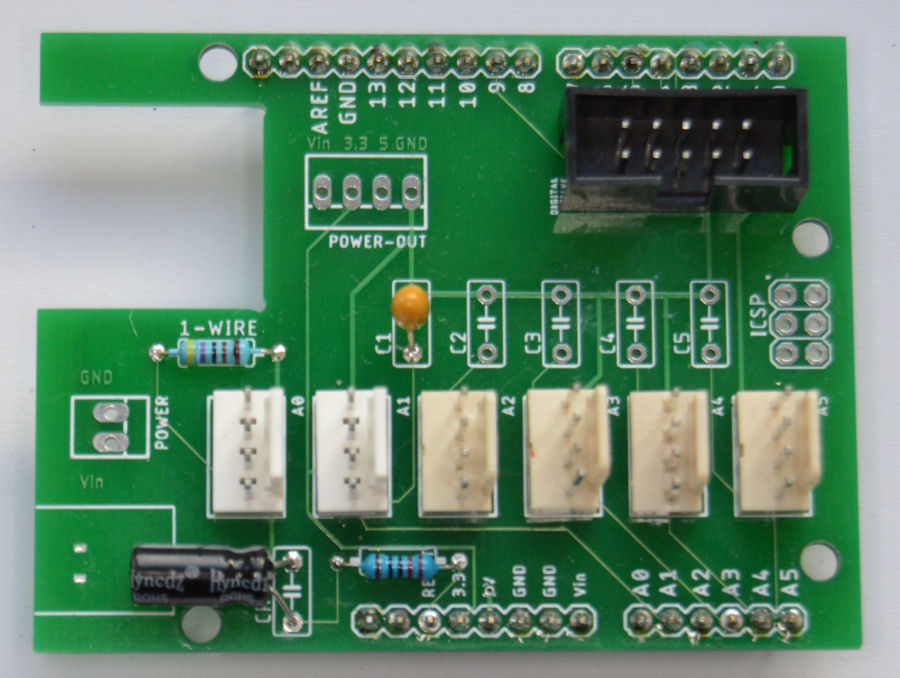
As part of my smart home building blocks approach to the smart home, I have developed my own Smartisant Arduino Shield SHLD1, to enable me to prototype and build new smart home services and features quickly and reliably. This is described in a lot more detail here.
This projects connects the 8 LEDs via a 10-Way DIL connector and the distance sensor via a 4-way Molex connector.
JSN-SR04T
This is connected via a 4-way Molex connector and the +5V and GND connections are provided, along with the Trigger pin (A5) and Echo pin (A4).
Visual Indicators
Different colour LEDs will draw different currents when using the same series resistor, so I've tested various values to check they all draw a reasonable current from the 5V output pins of the Arduino and all look about the same brightness:
- For the blue LED, this means a 240Ω resistor and 8.5mA.
- For the green LED I used a 220Ω resistors and 8.0mA.
- The orange LEDs don't put out as much light, so I'm using a 150Ω resistor and 18.0mA.
- The red LED uses a 100Ω resistor and 24.0mA, to ensure it is nice and bright.
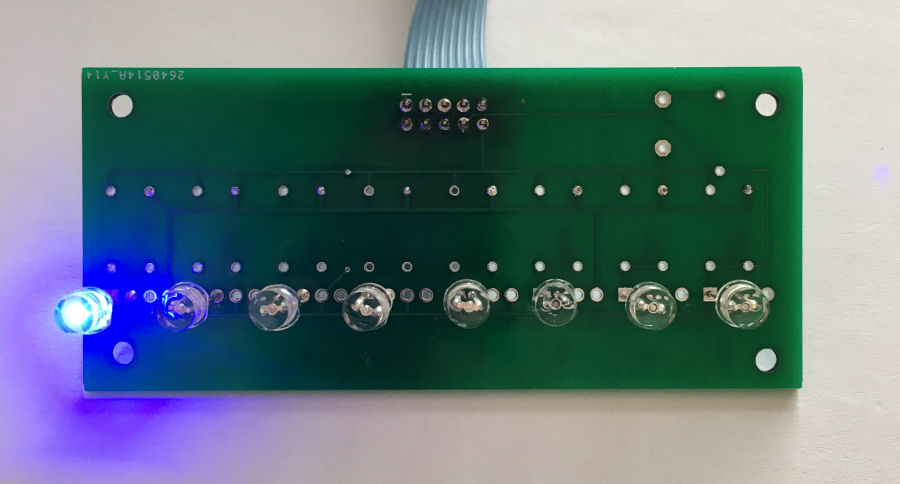
To simplify the LED spacing and mounting, I'm using my Smartisant 8-channel IO Board IO1, which connects to my Smartisant Arduino Shield SHLD1 with a 10-way ribbon cable.

At start up the LEDs all light up in sequence and then go off one in reverse order, leaving just the blue LED lit.
Enclosure
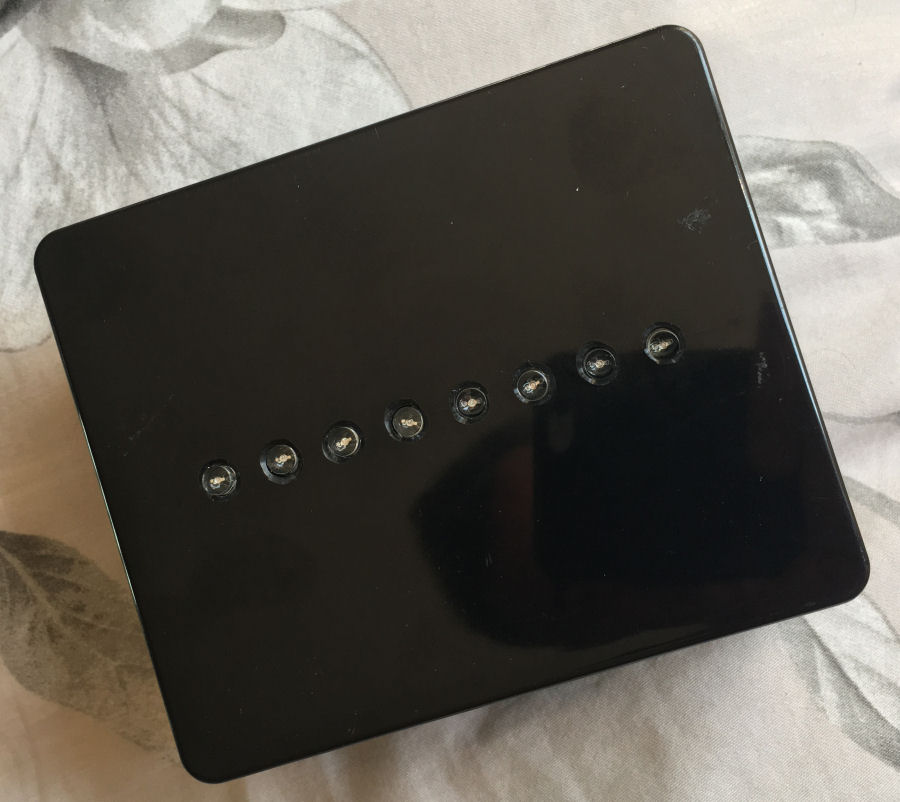
The Arduino and LEDs are mounted in an ABS plastic box (12cm × 10cm × 5cm) and I 3D printed a guide to help drill the holes in a nice straight line.
Setup & Testing
Once plugged together I tested it all and it worked perfectly :-) The LEDs are very directional and really bright, which will be perfect in a garage or even outside in the daylight.
Summary
This project is a low-cost technology update on the old hanging tennis ball approach to parking your car the correct distance from a garage back wall. I basically built it with a JSN-SR04T distance sensor and some spare parts I had lying around.
I've not connected this project to my but, with the addition of an Ethernet shield or by using a Wi-Fi capable Arduino, it would be possible to do so. The parking sensor could then contribute to the whole home context and provide occupancy and potentially presence data (if each car has a unique parking space and owner).


