Smart Home Light Level Sensor Project

The objective of this project is to build a smart home connected light level sensor, to allow measurement of light levels in rooms.
I am using a Light Dependent Resistor (LDR) to measure light level. These things are really cheap and compact. The one pictured is just 8mm in diameter. The resistance varies with light level, from less than 1KΩ in bright light, to several MΩ in darkness.
Design

This means we can build a voltage divider using another (fixed) resistor (10KΩ is a good value to use) and measure the voltage across the fixed resistor to get a measure of the light level.
In darkness, the resistance of the LDR is very high, so most of the 5V is dropped across it resulting in a lower reading on the analogue input pin. In light conditions, the resistance is quite low, so more than half of the voltage is dropped across the 10KΩ resistor resulting in a higher reading on the analogue input pin.
Smart Home Integration

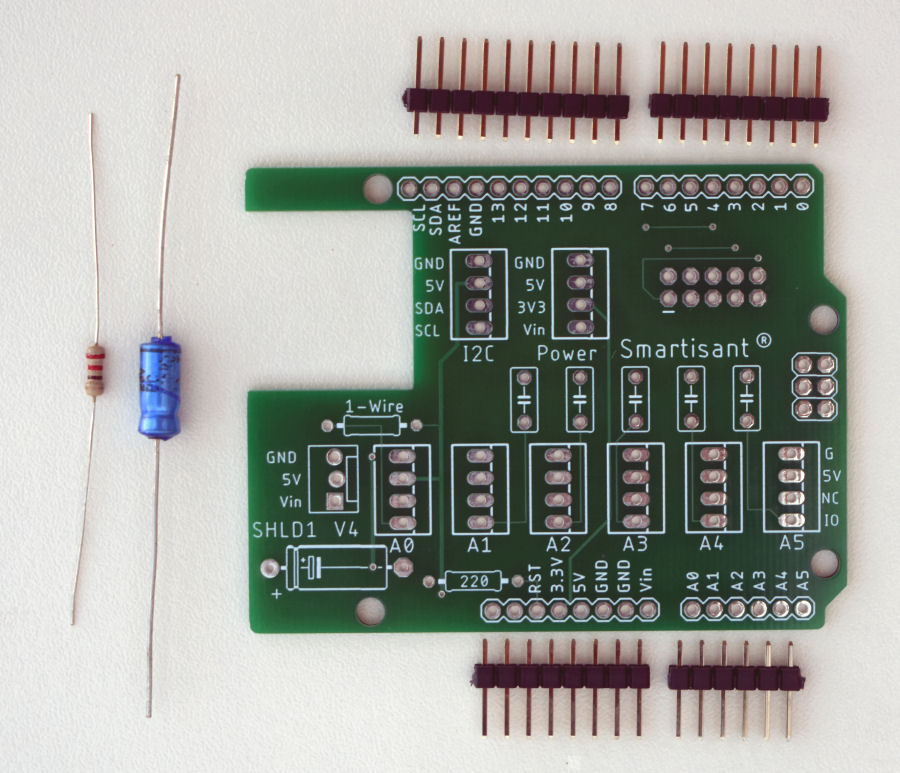
As part of my smart home building blocks approach to the smart home, I have developed my own Smartisant Arduino Shield SHLD1, to enable me to prototype and build new smart home services and features quickly and reliably. This is described in a lot more detail here.
The above circuit is simply plugged into one of the spare analogue input ports using a 4-way Molex connector.
Smart Home Integration
Over my many years doing smart home (I started in 2004), I have developed my own library of code for Arduino processors and this includes functions to integrate it into my distributed Home Control System and connect numerous types of sensors. These 'slave processors' can then do clever stuff like local control, self-monitoring of performance, local signal conditioning and rate limiting, send warnings and errors, or host some functions locally.
This maximises reuse across my many smart home projects, making it very quick and easy to develop and test new smart home capabilities. My smart home also employs the concepts of technology abstraction, meaning my smart home is also technology agnostic. This allows old technologies or broken sensors and devices to be swapped out with new ones, with minimal effort and zero reconfiguration.
Most of the Arduino processors installed in my smart home use an Ethernet IP network interface, to enable them to send and receive events with my Home Control System, using my unified communications protocol. Wired networks ensure very low latency and hence a great user experience, though occasionally I will use Wi-Fi.
Adding sensors and devices to my Home Control System is simply a matter of adding one line of JSON for each one, to the main configuration file. This defines the name, zone, object type and also the details of the slave processor it is hosted or controlled by. All the intelligence is within my Home Control System, which receives and sends encrypted events using my unified communications protocol. It sends events to update my smart home on things like the temperature, humidity, fan state, appliance and lighting state changes, occupancy, etc.
Software
Over the years, I have developed my own library of code for Arduino and this includes all the functions to integrate it into my distributed Home Control System and connect numerous types of sensors. This has been designed to be reused many times in my various smart home projects, making it very quick and easy to develop and test new smart home devices and features.
The code example shown here is averaging a configurable number of readings (10 in my example code), to minimise the effects of noise and any transient inputs (a camera flash for example). The more readings that are averaged out, the less responsive the sensor will become. In practice, using an average of 10 readings still results in a sensor that responds very quickly.
Software Download
You can download my working Arduino code for this project. The code is well documented and describes what is going on but, it would need additional code to do the specific integration with your own Home Control System.
Testing
If you read and sample the LDR values quickly enough, it is possible to detect flickering from mains powered LED lighting. This is why it is a good idea to average a number of samples.
Summary
This project is a very cheap and reliable way to accurately capture and report room light levels to a Home Control System. Because the 'dumb' sensor is connected to an Arduino, I have full control over how the "sensor" behaves. When using spare capacity on an existing Arduino, each light level sensor costs just a few pence to implement.
I'm capturing and recording light levels as a percentage but it would be possible to calibrate the sensors and report values in lumens, if required.
In practice, I also implement some 'rate limiting' in our software, to ensure each light level sensor doesn't report data back to our Home Control System too often, whilst also ensuring that significant changes also get reported. I also force updates to be sent every (for example) 15 minutes, even if the light level has not changed.


