Aeon Labs Aeotec Z-Wave Key Fob Project
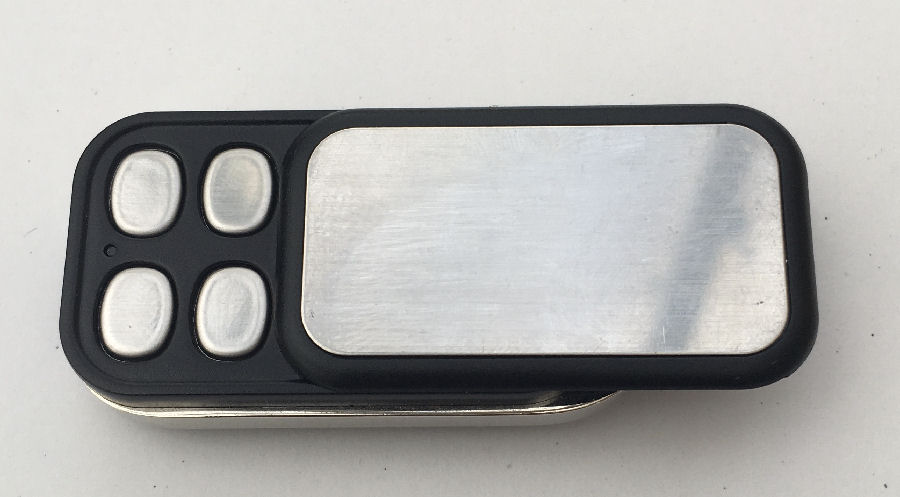
The Aeotec key fob is a compact 4-button remote control for use with Z-Wave networks and a controller. It features a sliding cover over the buttons, to prevent them being accidently pressed. This project aims to understand what can be done with it and what the limits of it are.
In The Box
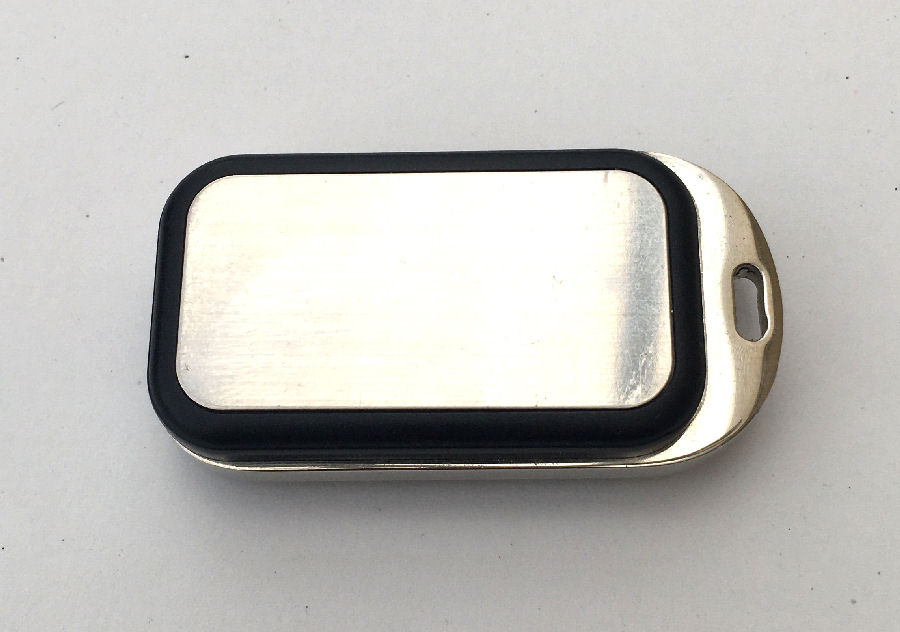
The key fob comes very well packaged with the key fob itself, a Lithium CR2540 (3V) battery, a 2-pronged 'button pin' and the instruction manual. The key shiny surface (including the buttons) have a protective blue plastic film. It feels solid and well made and weighs 30g with the battery inserted.
The sliding cover has a nice smooth feel but the button action feels a bit cheap, with the buttons wobbling slightly. With the cover open a tiny red/green LED is exposed beneath the four buttons. This is used to indicate many things.
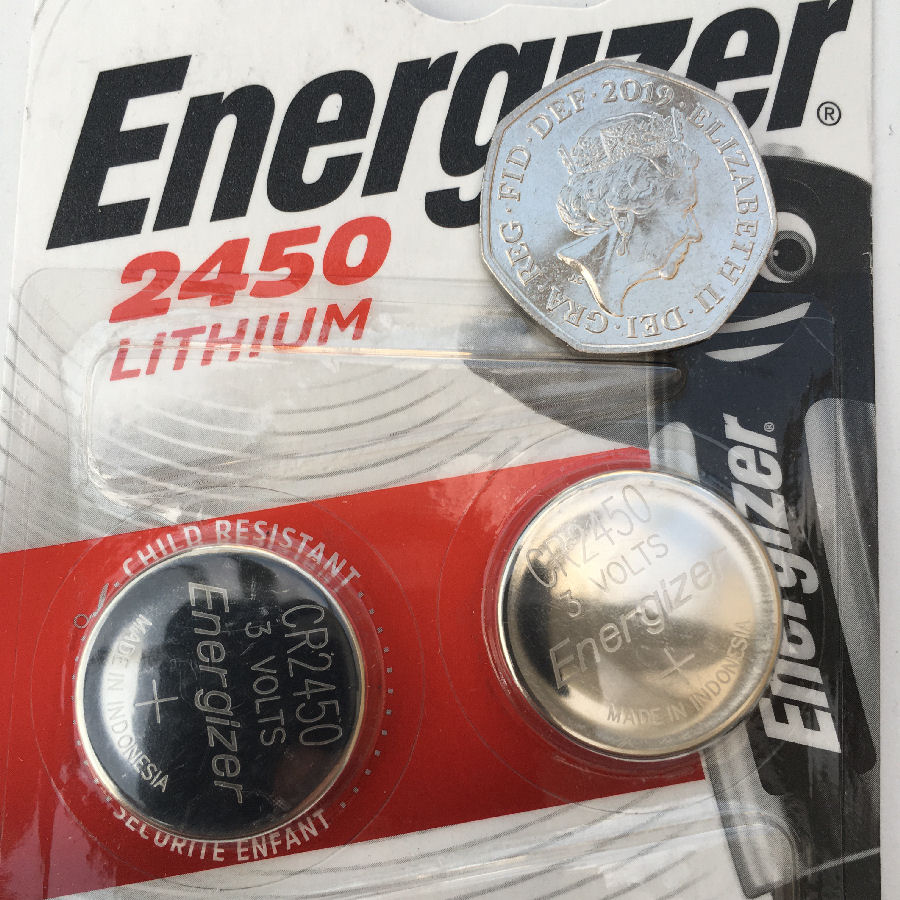
The key fob uses a 3V CR2450 Lithium battery which is about the biggest 'coin battery' you can buy.
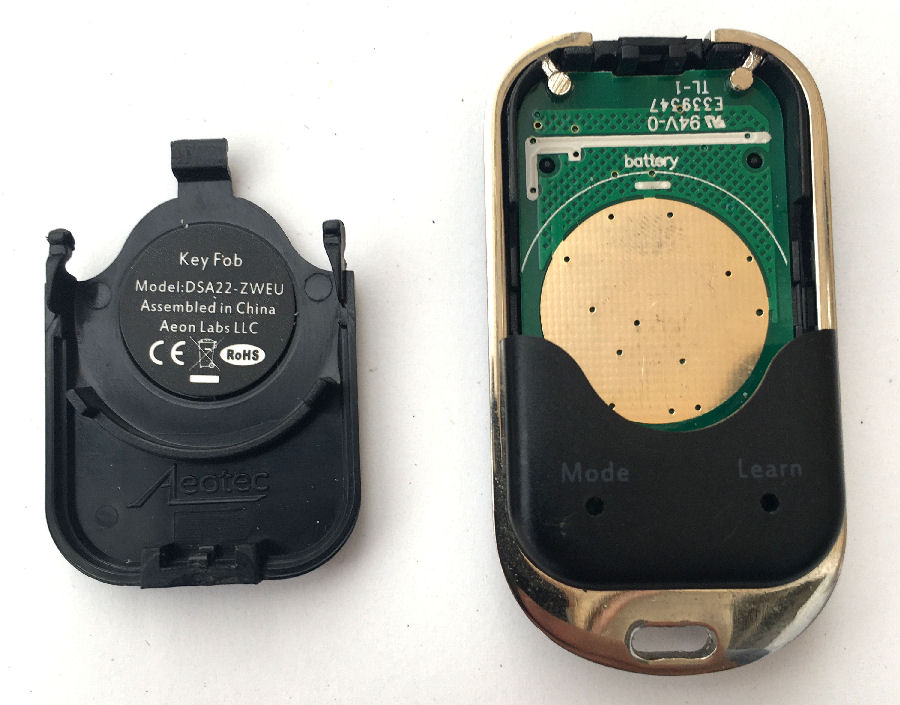
On the back there are two holes that allow the mode to be changed using the 'button pin'.

When closed, the key fob is 55m tall × 30mm wide × 13mm thick.
My key fob model shows up as 'Keyfob Gen5'.
Setup
Z-Wave Inclusion
The key fob has three different modes and comes shipped in 'setup mode'. We went into the Vera Plus controller UI and entered the 'add device' section. We then entered include mode and using the 'button pin', pressed the 'Learn' button briefly on the back of the remote. Our Vera Plus then discovered the device and recognised it correctly.
Modes
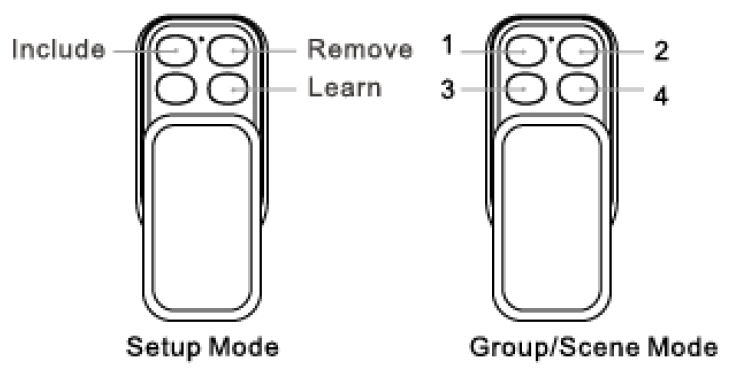
The change mode, you use the 'button pin' to press mode button on back of remote. The green LED on front comes on for about 2 seconds. You can tell which mode the remote is in by what happens when you press the buttons on the front. If button 3 does nothing, then it is in setup mode. If the green light comes on for 1 second when you press any of the buttons, then it is in group/scene mode.
Scenes
To use the buttons to run scenes, you must create a scene for every button on the device. The Vera 'Scenes' tab, create a new one with a meaningful name. We chose to add these scenes to our 'House' room. I could assign a trigger for each scene based on a button press but I left them as manual trigger. The reason for this is that you can assign scenes in the keyfob device settings.
The buttons on the key fob have a 'primary scene' function when pressed but can also invoke a 'secondary scene' when pressed and held down for 2 seconds or more. This effectively turns the key fob into an 8-button remote control. To get these to work on the Vera, you need to configure the triggers slightly differently.
The extended scenes use a trigger type of 'A scene is de-activated' and scene 5 uses the number 1 again (6 uses 2, 7 uses 3 and 8 uses 4). Note that this is different to the image shown in the manual. When you press the button down for an extended scene, the green LED comes on after 2 seconds, to let you know it has been activated.
Smart Home Integration
Each time a button is pressed an event is sent to our Home Control System. This already models remotes and their button or key presses. This key fob is a device called 'Keyfob 1' and each event contains the value of the key pressed, e.g. '3'.
This means that our contextual smart home determines what each key press means and what the resulting actions are. This type of technology abstraction is extremely powerful and makes it very easy to configure the key fob to do many things.
Battery Level
The battery level reporting doesn't seem to work. It remained stuck at 0% in the Vera Plus UI.
In Use
Because of the way we are using the key fob, the buttons do not have to have fixed functions. As well as being used to toggle things on and off (such as the house alarm), they can also adapt to context. As an example, each button could run a different scene depending on the house status.
To test the functionality, I initially set things up to make an voice announcement in our Lounge when key fob buttons were pressed.
Range
Tests show the range to be very good. It works on our drive, outside the front door, in the back garden and even on the patio at the far end of our back garden.
The claimed range for the device is 20m (66ft) indoors and 50m (164ft) outdoors. With a Z-Wave network this just has to be to the nearest controller or relay node.
Personal Key Fob
Each key fob could also be associated with a particular person. We could see one being given to a cleaner or guest, to enable simple control of the house alarm system as an example.
Summary
Once you have the information to hand, it is very easy to set the key fob up and get the core functionality working.
Further Reading
- My research on remotes.
- My research on buttons as sensors.
- Aeotec manual
- MiCasaVerde forum thread on the key fob


